CLOSE
Search - Quick Tips

Thank you! Your submission has been received!
Oops! Something went wrong while submitting the form.


Connecting to Outlook...
Access the calendar connection screen by clicking on "Users" in the SETTINGS & PREFERENCES section of your sidebar, then click CONNECT A CALENDAR:


Click

.
Great! Now, let's link your Outlook email account.


Enter your email

.
Click

to continue and reveal the account selection screen.

Select the account that matches the email you entered on the previous screen. If you don't see your account click "Use another account" and then complete the login via the provided prompts. Logging in will take you to the permissions screen...
Here you will see one of two options.
Option #1: If your screen looks like this...
Option #1: If your screen looks like this...

Check the box

then,
Click

to continue to admin consent.
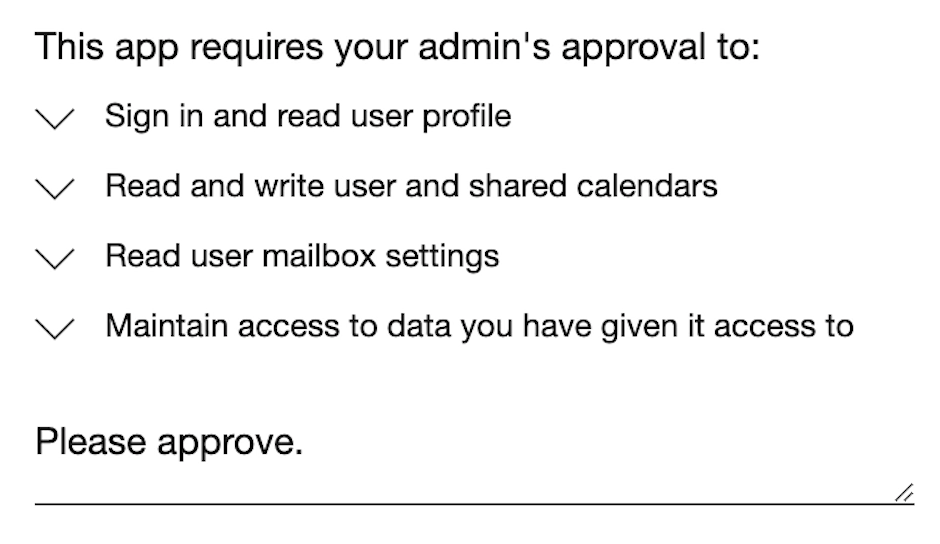
Option #2: Otherwise your screen will look like this...

Type "Please approve" in the text area.
.
Click

.

Click

.

Click

.


NOTE: To complete permissioning, you’ll need to login to your email admin portal. Depending on your organization you may need to pass the remainder of this process off to your IT person.

In a new tab navigate to portal.azure.com

Login to the Azure Portal with your admin credentials.

.

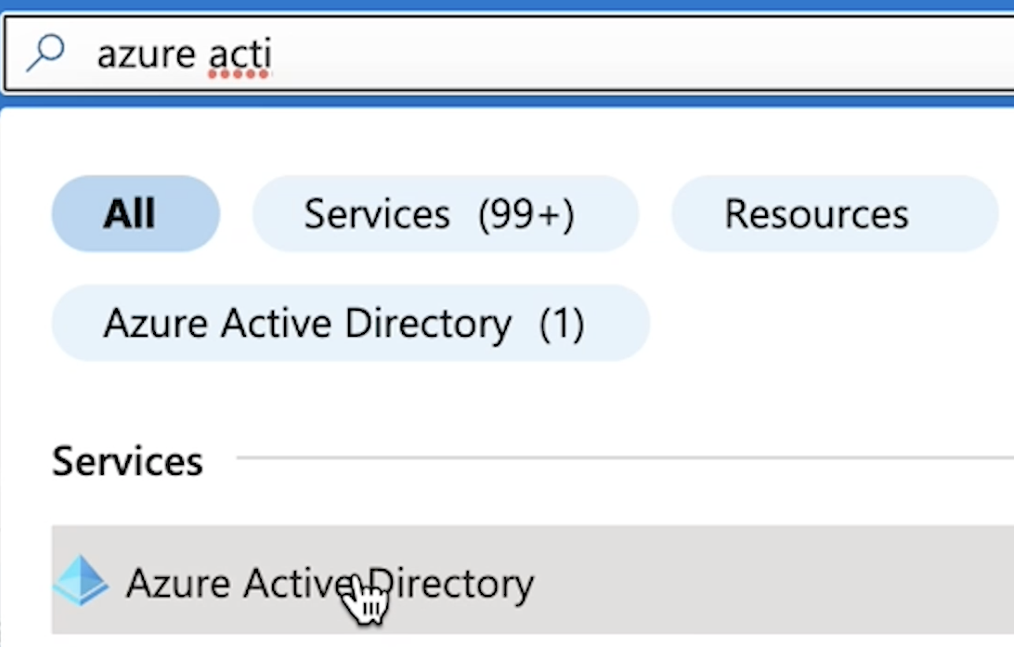
Find the Azure Active Directory by searching for it in the top bar. (May be labeled 'Microsoft Entra ID')
.
Click on "Enterprise Applications" in the left sidebar.

.
Click on DocketCalendar under the listed applications in the center pane.

.
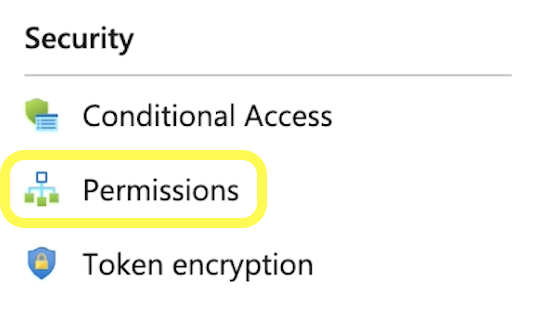
Click on “Permissions” under the Security category in your sidebar.
.

Now click on the blue “Grant admin consent” button


Click
Hit refresh in the top left of your portal window until you see the permissions populate in the center pane.


Now head back to the admin consent screen we had up previously...
Click

.
Now, click on the correct corresponding email address to login.

You should now be logged and ready to assign your first calendar!
To learn how to assign calendars
click here.
Still stuck?
Click here to book a call.
Click here to book a call.
Back to top ↑
LOGIN

